
How to Get a SIM Card at Haneda Airport: Where to Buy, Setup & Alternatives
Arriving at Haneda Airport and need mobile data? Learn where physical SIM and mobile-service counters are located, what to check before buying, how to activate your SIM, and when eSIM or pocket WiFi is the easier choice.

Yes. Haneda Airport currently lists mobile phone, Wi-Fi rental and SIM-related services in the international arrival areas of Terminal 2 and Terminal 3, with additional mobile-service counters in Terminal 3. Start by confirming your arrival terminal, then check that your phone is unlocked and compatible before buying. If your phone supports eSIM, preparing mobile data before departure is often faster; if you need several devices online, pocket WiFi can be easier.
What You’ll Learn
- Where to look for mobile and SIM services in Haneda Terminal 2 and Terminal 3
- How to confirm your phone is unlocked and compatible before paying
- How to choose between a physical SIM, eSIM and pocket WiFi
- How to activate and test mobile data before leaving the airport
- What to do if your SIM connects poorly or does not work
Check Your Phone Before You Land
The most important step happens before you reach a counter: confirm that your phone can use another carrier's SIM. A travel SIM may be useless if the handset is carrier-locked, lacks the required network support, or uses eSIM only.
On iPhone, Apple recommends confirming the device is unlocked before using another carrier. On other phones, check the carrier-lock status, whether a physical SIM tray is present, and whether your model supports the network features you need in Japan.
Keep your original SIM safely stored if you remove it. If you use two lines, decide in advance which line will handle mobile data and whether data roaming should be enabled for the travel line.
- Confirm the phone is carrier-unlocked.
- Check whether your model accepts a physical nano-SIM or is eSIM-only.
- Back up any important two-factor authentication method tied to your home number.
- Bring a SIM-eject tool if your phone uses a physical tray.
Where to Find SIM and Mobile Services at Haneda Airport
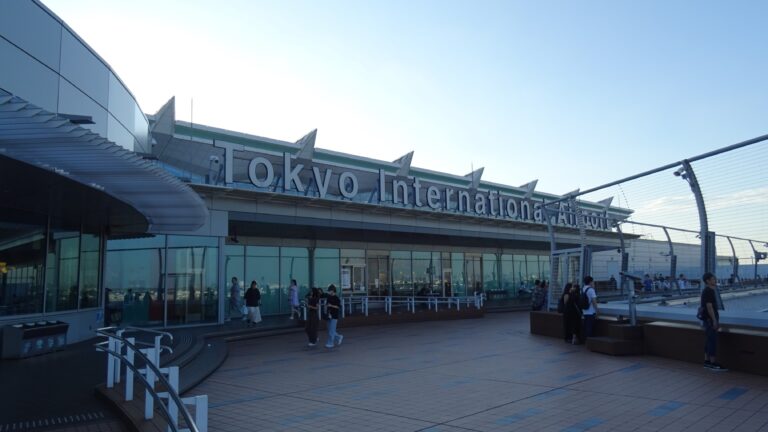
Haneda's official service listings show mobile phone, Wi-Fi rental and SIM-related counters in the international areas of Terminal 2 and Terminal 3. Terminal 3 has multiple mobile-service counters around the 2F arrivals level, and additional service space on 3F. The airport's current floor map also marks Mobile Center and AnyFone locations in Terminal 3.
Terminal 2 also handles some international flights, so do not assume every international arrival uses Terminal 3. Check your airline's terminal before travel and use Haneda's official terminal map after landing.
Counter names, products and opening hours can change. Treat the airport's live service page and floor map as the final source on the day you arrive.
- Terminal 3: check the 2F Arrivals Lobby first for mobile/SIM services.
- Terminal 3: additional pickup or service counters may be on 3F.
- Terminal 2: international-arrival mobile service options are also listed by Haneda.
- Terminal 1: prepaid SIM vending or mobile options may exist, but it is mainly a domestic terminal.
Physical SIM, eSIM or Pocket WiFi: Which Is Better?
A physical SIM is useful when your phone does not support eSIM, when you want a straightforward data line in one device, or when you prefer buying after arrival. An eSIM is usually the fastest option for a compatible unlocked phone because you can install it before flying and activate it after landing.
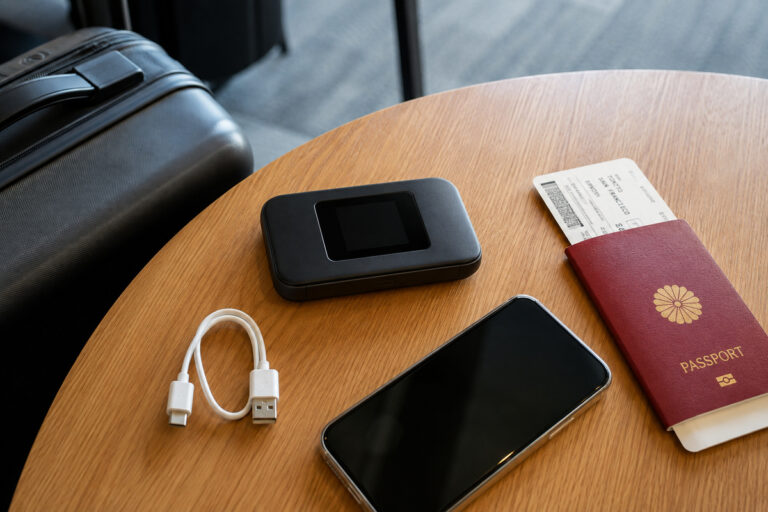
Pocket WiFi is often the better choice for families, couples carrying several devices, tablets or laptops. One router can connect multiple devices without changing every phone's SIM configuration.
There is no single best option for every traveler. Choose based on device compatibility, number of users, trip length, hotspot needs and how much setup you want to do at the airport.
- Physical SIM: best when your phone has a SIM tray and you want one-device data.
- eSIM: best when your unlocked phone supports eSIM and you want to prepare before departure.
- Pocket WiFi: best for several devices or travelers sharing one connection.
- Airport free Wi-Fi: useful as a temporary connection while you buy, activate or troubleshoot.
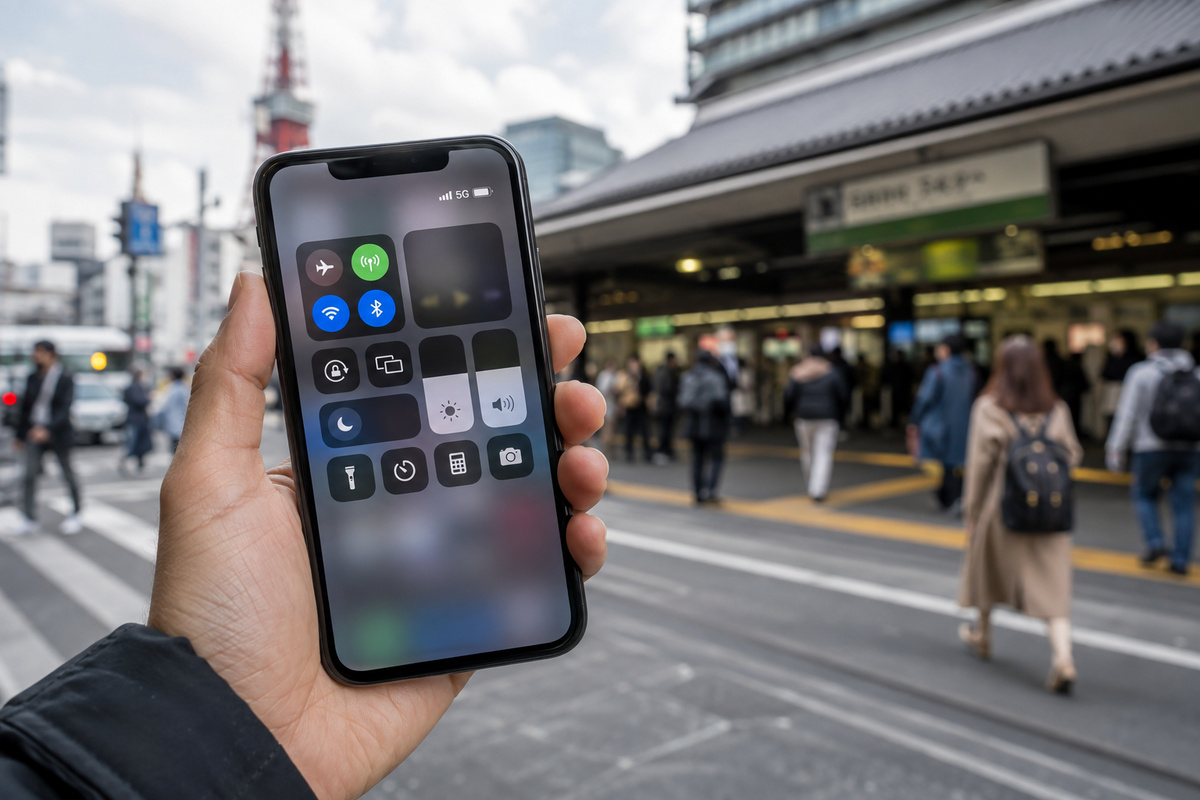
What to Check Before Paying for a SIM
Do not choose a plan only by the headline data amount. Ask what happens after high-speed data is used, whether tethering is allowed, when the validity period starts, and whether any manual APN setup is required.
Most short-term visitor SIMs are data-focused. If you need a Japanese phone number, SMS reception or voice calls, confirm those features explicitly before paying.
Also confirm the activation deadline and whether the plan starts at installation, first network connection or a fixed calendar date. This matters if you buy the SIM several days before you actually need it.
- Data allowance and any speed-reduction policy
- Validity period and when the clock starts
- Hotspot/tethering support
- Data-only versus voice/SMS capability
- APN or manual setup requirements
- Refund or exchange policy if the SIM is incompatible
How to Buy and Activate a Physical SIM at Haneda
First, use airport Wi-Fi if necessary and confirm the exact counter or vending location for your terminal. At the counter, tell staff your phone model, trip length and whether you need tethering. If you are unsure about compatibility, ask before opening the package.
After purchase, power down the phone if the instructions recommend it, insert the travel SIM, restart the device and follow the provider's setup steps. Some plans connect automatically; others require APN settings or data roaming to be enabled.
Do not leave the terminal immediately after the first signal appears. Open a web page, load a map and send a message so you know data is actually working.
- Confirm terminal and counter.
- Confirm phone compatibility before opening the SIM package.
- Insert the SIM and follow the provider's setup instructions.
- Turn on the correct mobile-data line and any required roaming setting.
- Test maps, messaging and a normal webpage before leaving the airport.
Use Haneda's Free Wi-Fi as Your Setup Safety Net
Haneda provides free Wi-Fi in the terminals, which is useful while you install a travel SIM, download carrier instructions or contact support. Keep the airport Wi-Fi connection available until your mobile-data test is complete.
If your SIM requires a QR code, account login or support chat, take screenshots of the instructions before disconnecting from Wi-Fi. That prevents a circular problem where you need mobile data to finish setting up mobile data.
- Connect to airport Wi-Fi before changing SIM settings.
- Save setup instructions and order details offline.
- Test mobile data with Wi-Fi temporarily turned off.
If the SIM Does Not Work
Start with simple checks: confirm the correct SIM or mobile-data line is selected, airplane mode is off, the phone has restarted, and any required data-roaming setting is enabled. Then compare the APN values with the provider's instructions.
If you have signal bars but no internet, the problem may be the data line, APN, activation timing or plan status rather than network coverage. If there is no signal at all, recheck device compatibility and whether the SIM was inserted correctly.
Use Haneda's Wi-Fi to contact the provider before leaving the airport when possible. Solving the issue at the airport is easier than troubleshooting later while navigating Tokyo.
- Restart the phone and reselect the travel data line.
- Check APN settings exactly as provided.
- Confirm data roaming if the travel provider requires it.
- Turn Wi-Fi off briefly when testing mobile data.
- Contact the provider over airport Wi-Fi if the issue remains.
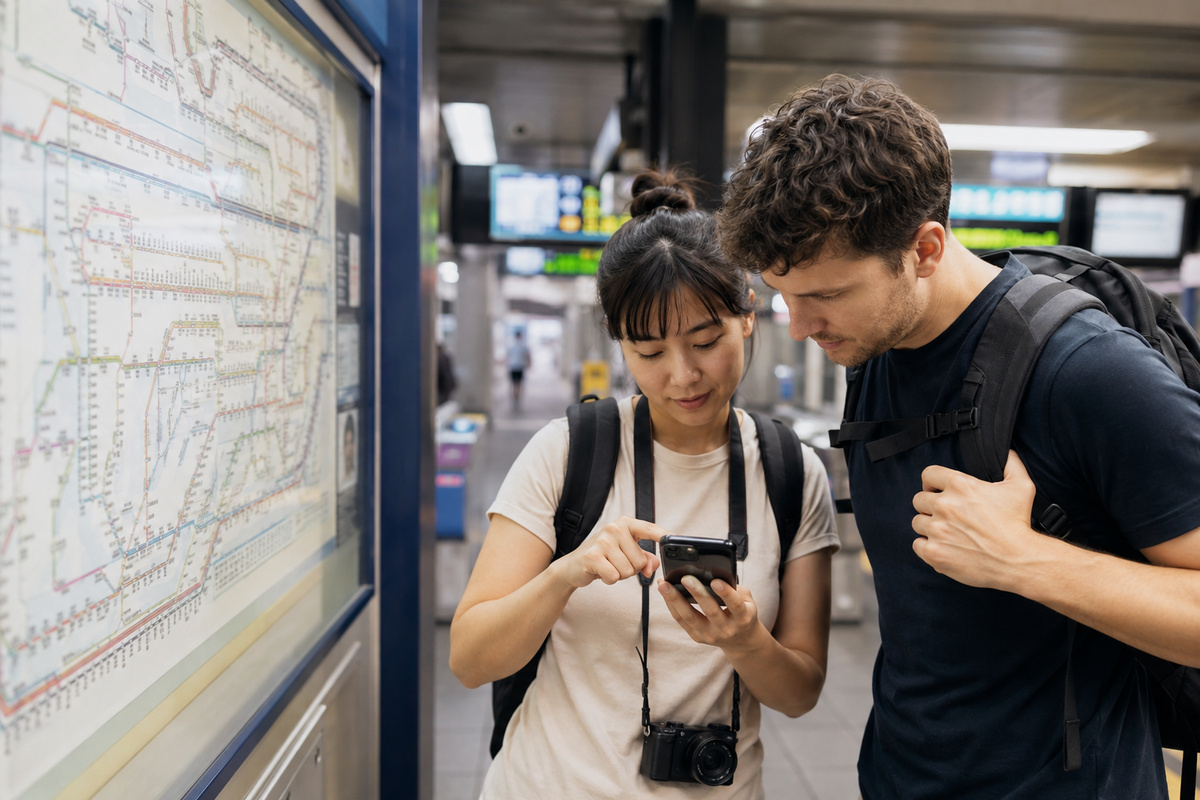
Consider Pocket WiFi if You Need Several Devices Online
For families, groups, tablets and laptops, a pocket WiFi rental can be simpler than installing a separate SIM in every device. Japan Wireless currently documents Haneda Terminal 3 pickup for eligible pocket WiFi orders at a partner counter on 3F.
Pickup availability is product-specific. Japan Wireless' order pages also show that some selected products cannot be picked up at Haneda Terminal 3, so verify your exact plan and pickup location during checkout instead of assuming every product is eligible.
This is also a useful backup if your phone is locked, eSIM-only in an incompatible way, or otherwise unable to use the physical SIM you planned to buy.
- Good for several phones, tablets or laptops.
- No SIM swap is required in each device.
- Requires carrying and charging one extra device.
- Confirm the selected product supports Haneda pickup before paying.
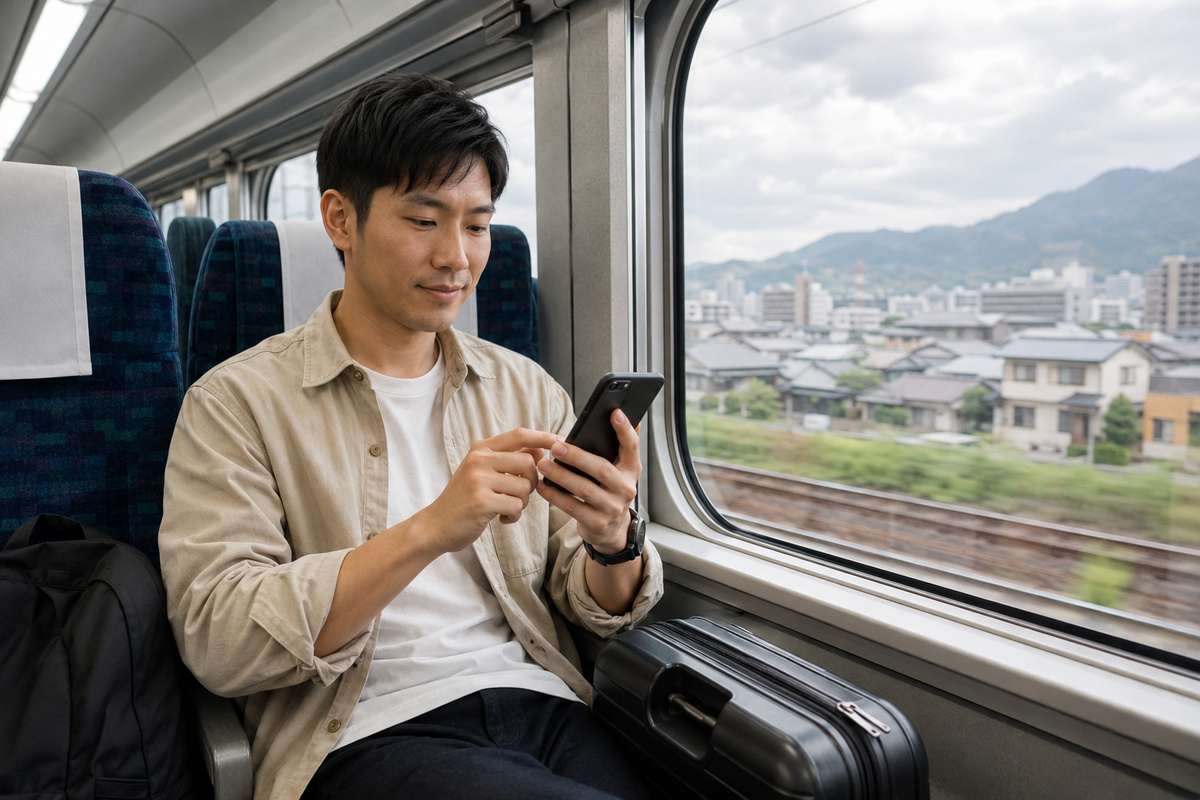
What to Do After You Are Connected
Once mobile data works, save your hotel address, download any essential maps, confirm your airport-to-city route and make sure messaging apps can send and receive. If you rely on your home SIM for bank or verification messages, keep that line configured carefully to avoid unexpected roaming charges.
Do not spend too long optimizing settings at the airport. The goal is a stable connection that works for maps, rail information, bookings and communication. You can fine-tune data-saving settings after reaching your hotel.
- Save your hotel address in Japanese and English.
- Load your first route from Haneda before leaving the terminal.
- Check messaging and booking apps.
- Review which SIM is allowed to use mobile data.
Best Choice by Traveler Type
For a solo traveler with an unlocked eSIM-capable phone, preparing an eSIM before departure is usually the lowest-friction option. For a traveler whose phone does not support eSIM, a physical SIM at Haneda is a practical fallback. For a family or multi-device traveler, pocket WiFi often reduces setup complexity.
The best choice is the one that gives you reliable navigation and communication without turning your arrival into a technical project. Decide your preferred option before flying, but keep a second option in mind in case your phone, plan or arrival time changes.
- Solo, eSIM-ready phone: prepare eSIM before travel.
- Physical-SIM phone, no eSIM: buy or arrange a visitor SIM.
- Family or many devices: consider pocket WiFi.
- Late arrival: check counter hours before relying on airport purchase or pickup.
FAQ
Can I buy a SIM card after arriving at Haneda Airport?
Yes. Haneda currently lists mobile/SIM-related services in the international areas of Terminal 2 and Terminal 3. Exact counters, products and hours can change, so check the official Haneda service page for your terminal.
Is Terminal 3 the only place to get mobile service at Haneda?
No. Terminal 3 has several mobile-service options, but Haneda also lists mobile services in Terminal 2's international-arrival area. Your airline's arrival terminal should determine where you look first.
Do I need an unlocked phone for a Japan travel SIM?
Yes, in most cases. A carrier-locked phone may reject another provider's SIM or eSIM. Confirm the unlock status with your carrier or device settings before travel.
Is eSIM easier than buying a physical SIM at Haneda?
For an unlocked compatible phone, usually yes. You can often install an eSIM before departure and activate it after landing, avoiding an airport purchase. A physical SIM remains useful for phones without eSIM support.
Can I pick up Japan Wireless at Haneda Airport?
Japan Wireless currently advertises Terminal 3 pickup for eligible pocket WiFi orders at a partner counter on 3F. However, product eligibility varies, so confirm that your exact order supports Haneda pickup during checkout.
What should I do if my SIM does not connect?
Stay on Haneda's free Wi-Fi, restart the phone, confirm the travel SIM is selected for data, check required roaming and APN settings, then contact the provider before leaving the airport if the problem continues.
Need mobile data in Japan?
Compare current eSIM data allowances, validity, device compatibility and setup requirements before choosing.
Check Saily eSIM plansCompare another Japan eSIM
Compare current data allowance, duration, compatibility and activation steps before choosing your eSIM.
Check Japan Wireless eSIMRelated Japan Travel Guides
Official References
Final Thoughts
Haneda is a convenient place to solve your mobile-data setup, but the smoothest arrival starts before the flight: confirm your terminal, unlock status and preferred connection method in advance. If a physical SIM is your plan, test it before leaving the airport; if your phone supports eSIM or you need several devices online, compare those alternatives before you travel.